This is updated video of a previous tutorial,
Anaconda is a package manager, an environment manager, and Python distribution that contains a collection of many open source packages (numpy, scikit-learn, scipy, pandas to name a few). If you need additional packages after installing Anaconda, you can use Anaconda’s package manager, conda or pip to install those packages. This is highly advantageous as you don’t have to manage dependencies between multiple packages yourself. Conda even makes it easy to switch between Python 2 and 3 (you can learn more about it here). In fact, an installation of Anaconda is also a common way to install Jupyter Notebooks.
This tutorial includes:
- How to download and install Anaconda on Windows
- How to test your installation
- How to fix common installation issues
- What to do after installing Anaconda.
As always, feel free to ask questions either here or on the YouTube video page. With that, let’s get started!
Download and Install Anaconda
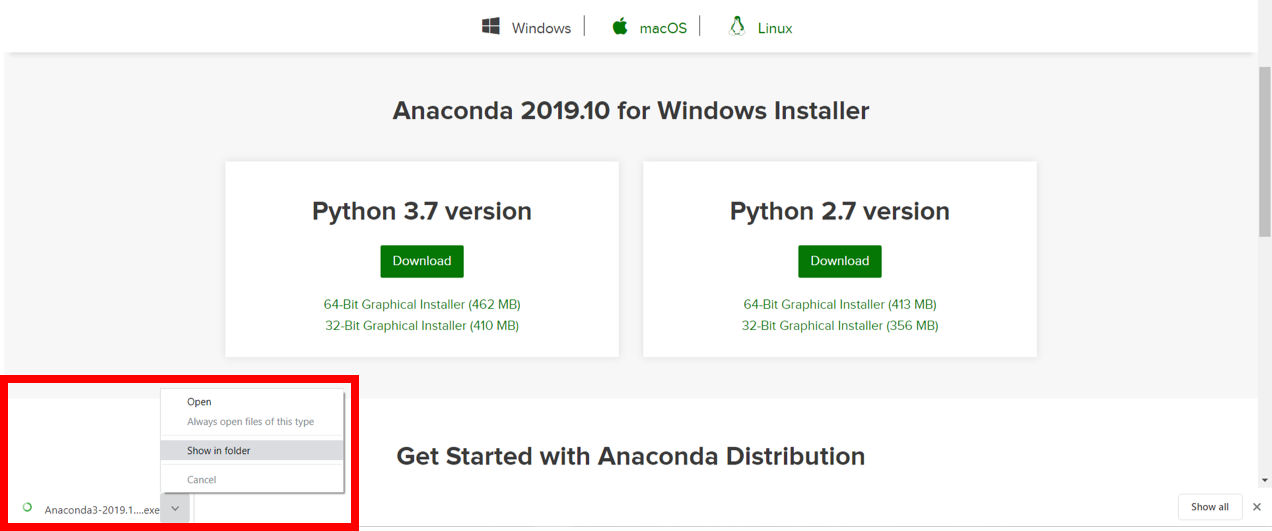
1.) Go to the Anaconda Website and choose either a Python 3.x graphical installer (A) or a Python 2.x graphical installer (B). If you aren’t sure which Python version you want to install, choose Python 3. Do not choose both.

2. Locate your download.

Ideally, you open/run the file as administrator.

Installing as administrator is for the case you don’t have permission install anaconda in the location you want or to add anaconda to your path.
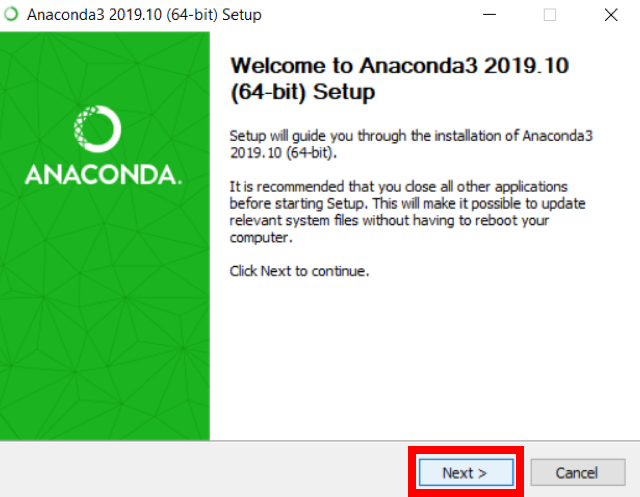
When the screen below appears, click on Next.

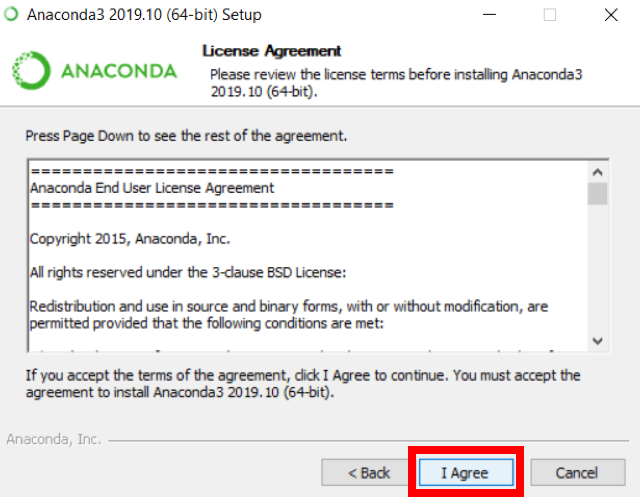
3. Read the License Agreement and click on I Agree.

4. Choose either Just Me (recommended) or All Users.

Conclusion
This tutorial provided a quick guide on how to install Anaconda on Windows as well as how to deal with common installation issues. If you would like to learn more about Anaconda, you can learn more about it here. If you aren’t sure what to do to start coding on your computer, here are a couple resources:
If you any questions or thoughts on the tutorial, feel free to reach out in the comments below or through Twitter.


